
- Admin
- 0 comments
5 Common TV Mounting Mistakes (And How to Avoid Them)
Mounting a flat-screen TV on the wall can instantly elevate your living room, bedroom, or home theater—offering a sleek appearance, saving floor space, and creating an immersive viewing experience. Yet one wrong move during installation can lead to crooked screens, damaged walls, unsafe setups, and sore necks. Whether you’re tackling a DIY weekend project or simply want to understand the pitfalls before calling a professional, this guide will walk you through the five most common TV mounting mistakes and, crucially, show you how to avoid them. Read on to ensure your next installation is smooth, secure, and perfectly positioned.
1. Choosing the Wrong Wall Location
One of the very first mistakes homeowners make is picking a wall based solely on convenience—like proximity to an existing outlet or central placement in the living area—without evaluating room dynamics. A wall that looks ideal on paper can suffer from glare, uneven sightlines, or poor acoustics once the TV is in place.
- Assess natural light and glare: Mounting your TV opposite a large window may seem logical, but mid-day sunshine can wash out the picture. To avoid this, test different spots at various times of day, or install blackout curtains if glare is unavoidable.
- Study viewing distances: Sitting too close or too far can strain your eyes. As a general rule, position the screen at a distance that is 1.5 to 2.5 times the diagonal size of the TV (for a 55″ set, aim for 6.5–11.5 feet).
- Consider room layout: Take into account furniture placement, walkways, and the angle of adjacent seating. A corner mount or articulating arm may be a better choice if viewers naturally gather at different angles.
- Check wall strength: Not all walls are created equal—interior drywall over wood studs differs from concrete or brick. Verify the underlying structure before choosing a location.
By carefully surveying your room’s lighting, seating arrangements, and wall composition beforehand, you’ll eliminate guesswork and end up with a mounting location that maximizes picture quality and comfort.
2. Failing to Find Studs or Using Improper Anchors
Even the best-designed mounting bracket is only as strong as its attachment points. A common DIY pitfall is trusting drywall alone or using basic plastic anchors that aren’t rated for the weight and vibration of a large TV set. The result? A TV that gradually sags—or worse, crashes to the floor.
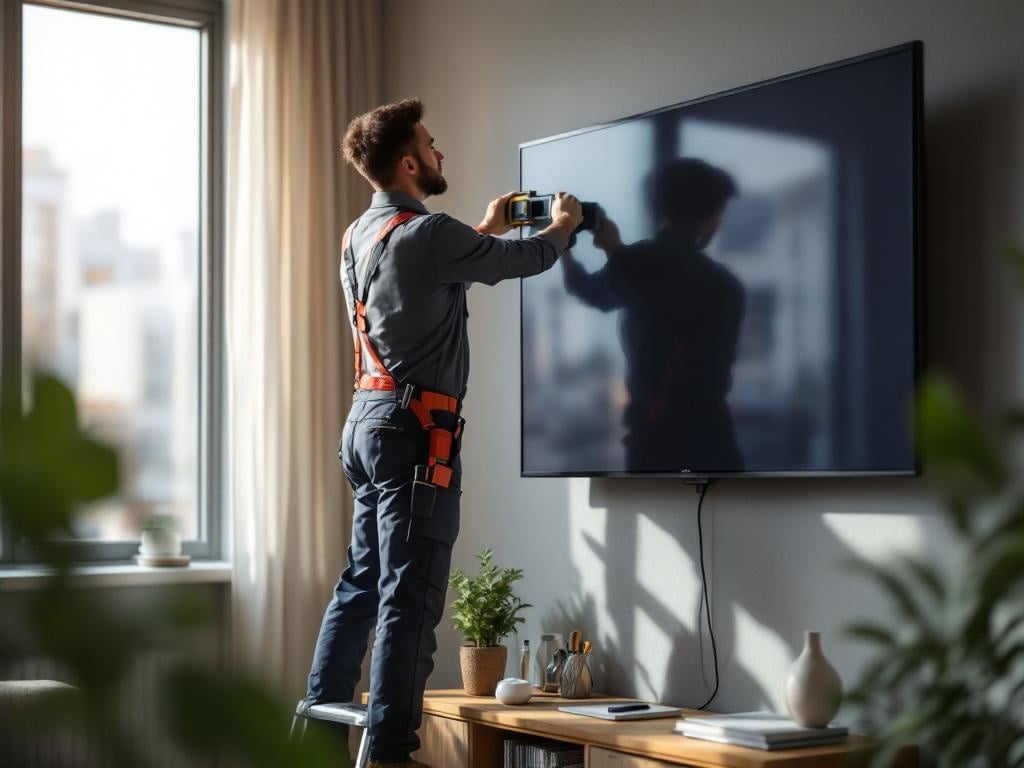
- Use a reliable stud‐finder: Invest in a quality electronic stud‐finder and scan the wall in multiple directions to pinpoint the exact center of each stud.
- Double‐check with a knock test: A sharp “thud” sound followed by a hollow echo helps confirm you’ve located a stud edge versus a pipe or wiring cavity.
- Choose the right fasteners: For wood studs, lag bolts sized to your bracket’s instructions are best. For metal studs, use toggler bolts or specialty metal‐stud anchors rated for at least 150% of your TV’s weight.
- Avoid plastic drywall anchors: Standard plastic anchors can pull out under load. If a stud simply isn’t available, switch to heavy‐duty metal toggle bolts designed for drywall.
Securing your mount directly into a wood or metal stud is the gold standard. When in doubt, back‐up your DIY work with a professional consultation to ensure a rock‐solid installation.
3. Incorrect TV Height and Viewing Angle
Even a perfectly centered and stable mount can feel uncomfortable if the TV is too high or too low. Neck strain, eye fatigue, and distorted viewing angles all stem from improper screen placement.
- Aim for eye level: The center of the screen should be at or just below your seated eye height—usually about 42–48 inches from the floor for most living rooms.
- Account for multiple seating areas: If your room has a sectional sofa or recliners at different distances, consider an articulating mount that lets you tilt and swivel the TV toward each viewing zone.
- Minimize screen tilt: Upward or downward tilting mounts can correct minor misalignments, but extreme angles degrade image quality. Keep tilt adjustments within 5–10 degrees of perpendicular.
- Test before finalizing: Use temporary hooks or an assistant to hold the TV at different heights while you sit in various seats—this real-world test can save you from a permanent installation you’ll regret.
By prioritizing natural head alignment and using adjustable hardware when needed, you’ll create an ergonomically sound setup that feels comfortable during long binge-watching sessions.
4. Ignoring Cable Management
Messy cables dangling from your wall mount not only detract from a clean, modern look but can create tripping hazards or put stress on component ports. Poor cable management is one of the easiest mistakes to make—and avoid.
- Plan your cable runs: Before drilling, map out the path from each device to the TV, accounting for length, connector types, and tight bends.
- Use in-wall rated cables: For a truly seamless appearance, run HDMI, power, and speaker wires behind the wall. Always choose cables and wall plates that meet local building and fire codes.
- Employ cable covers: If in-wall routing isn’t possible, surface-mounted cable raceways can be painted to match your wall color and hide unsightly wires.
- Label each cable: Color-coded or numbered labels help you identify inputs later—essential if you rearrange devices or troubleshoot connectivity.
Simple, strategic cable management elevates both form and function. By planning ahead and investing in the right accessories, you’ll maintain a sleek façade and safeguard your equipment.
5. Overlooking Weight Capacity and Mount Compatibility
Every TV mount has clear specifications: maximum screen size, weight limit, and VESA pattern compatibility. Ignoring these guidelines is a recipe for bracket failure, wall damage, or a broken television.
- Verify your TV’s VESA pattern: Measure the horizontal and vertical distance between mounting holes on the back of your TV (e.g., 200×200, 400×400 mm) and ensure your bracket matches exactly.
- Check weight limits: Mounts are rated for specific weight ranges—confirm your TV’s weight (with stand removed) is well within the bracket’s capacity (ideally 20–30% under maximum).
- Consider future upgrades: If there’s a chance you’ll upgrade to a larger screen, choose a mount rated for a slightly larger size and heavier weight now to save time and effort down the road.
- Mind articulating arms: Full-motion mounts require more robust hardware. Ensure your wall type and fasteners can support the dynamic forces created when adjusting the arm.
Taking the time to match your TV and mount specifications prevents undue stress on both the bracket and your wall—and keeps your investment safe for years to come.
Conclusion
Proper TV mounting is more than just drilling holes and tightening screws—it’s a combination of thoughtful planning, careful measurement, and the right hardware. By avoiding these five common mistakes—choosing the wrong location, skimping on secure anchoring, misjudging height and angle, neglecting cable management, and ignoring mount compatibility—you’ll achieve a clean, safe, and comfortable setup that enhances your viewing experience. If you’d rather leave the details to the experts, contact HDTV Installer Pros today for a free in-home consultation and professional installation service.